Monday, March 14, 2011

Capture the Moment

When I got my new DSLR camera for my birthday this past November, I was really excited!  I had been taking pictures with a second-hand Point & Shoot (Fuji FinePix) that I bought from my friend Kristin.  She is the creative genius behind KristinRogersPhotography.com.  

She's amazing, right!  

Let me assure you, I definitely got my money's worth out of that camera...by the time I was done with it, it was being held together with rubber bands and duct tape (not joking)!  I took a TON of cool pictures with it & really enjoyed a whole new world with the macro lens.

Project 365...one of my favorite shots with my trusty point & shoot using a macro lens.
So when I finally got my hot little hands on the new camera, I knew I wanted to make a cover for the strap...something scrappy & fun!  I whipped up this one & was really happy with the way it turned out.  I mixed a bunch of my favorite prints & backed it with plush zebra minky...oh yeah!
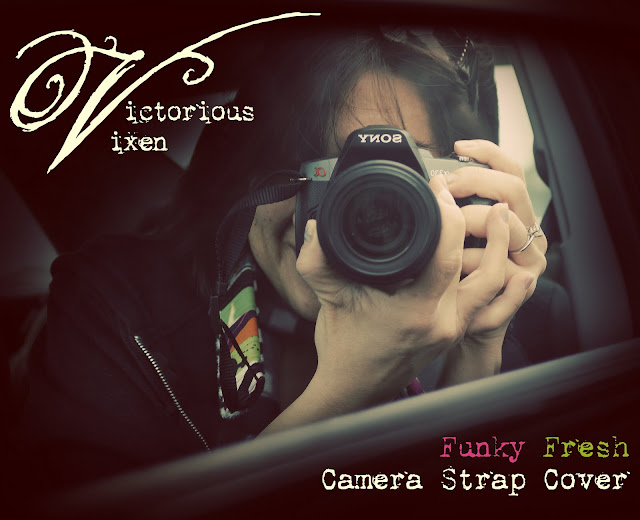

It's really comfortable to wear & I've received a lot of compliments on it, so I decided to make another one for my Etsy shop - you can find it here:


This one measures aprox. 24" long & 1.75" wide & fits most standard straps.  It is designed to slip over your original camera strap...strap NOT included.  Please measure your strap before purchase and let me know if you need a different size.  =)


Photography has been a really fun adventure for me and my neighbors can attest to the fact that I can usually be seen with a camera around my neck!  I wear it all the time, stopping to shoot anything that catches my eye.  I love looking back at the pictures I've taken & recalling how I felt or what was going on at the time.  It is another way for me to express myself...by capturing the moment, the details, the simple & complex.

So for all you photography enthusiasts out there, pick up your camera, seize the moment & get shooting! 

"Sometimes I do get to places just when God's ready to have somebody click the shutter."  -Ansel Adams

Monday, March 7, 2011

Magical Crown Tutorial

Kyra & Ava have a special friend at school who just LOVES The Princess & The Frog (TP&TF) and I thought it would be cool to make her a special birthday crown for her with that in mind.  I found a bunch of cool things in the dollar bin at Target, one of them being this TP&TF Play Pack with crayons & stuff inside.  I used the image on the front for inspiration!  =) 
I cut a strip of heavy interfacing for the band & simply sandwiched it between a strip of green fabric & sewed it together.  I wanted to have a raw edgy look, so I didn't finish the edges or do anything fancy...just some free motion zig-zag stitching along all four sides.
Then I cut out some leaf shapes with the interfacing...some big, some small.  I wanted the stitching on the leaves to really show, so I cut additional interfacing that was thick & would add more loft.  I sandwiched the leaves with my dreamy Heather Bailey green print that I love and free motion sewed each leaf individually.
After all the leaves were sewn, I cut them out & pinned them in place on the band.  
Starting with the leaves farthest from the middle, I sewed them into place working my way to the last one, front & center.
 
I attached a wide strip of elastic to each side of  the band so it will fit snug & comfortably, but you can use elastic or some other type of closure if you like.  

All done with the leaves....


but I wanted to add some hand stitching, beads and a purple feather to top it off!

This is a quick & simple project that you can definitely customize and make your own.  
Add fabric flowers, ribbon, beads...whatever you dream up.
Let me know if you have any questions about this tutorial & let me know if you make one of your own! 

Get Crafty!

Wednesday, March 2, 2011

Custom Tree Wallet


I recently received this email:

Nani, I was checking out your Victorious Vixen page, and I was hoping you could make a wallet for my wife for her birthday.  I was hoping to have a tree themed wallet. I attached some pictures of some fall trees to give you some ideas. Her name is Violet and she loves the outdoors and most of the fall colors.

Of course I was up for the challenge!  =)


So here are the pictures he sent me, along with some fabric I picked out especially for this project.
I printed the trees out on fabric using my inkjet printer & special paper backed fabric sheets that I picked up at my local JoAnn's.  I framed the trees with a log cabin type block, mixing & matching fabric strips as I saw fit.  I like to add a lot of contrast & texture into my work, so along with these prints, I added brown corduroy & a dotted minky to the mix. 
Here is the pieced top all sewn together & backed with a fleece like interfacing.  I like a lot of loft, so the thicker the better!

loft

[lawft, loft]– noun  
10.  the thickness of a fabric or of insulation used in a garment, as a down-filled jacket.

Next was my favorite part...the free motion stitching.  Unlike an embroidery machine, you move the fabric around in a doodle-like fashion, sketching with thread instead of a pen.  In order to do this on a regular sewing machine, you must have a darning foot.  On my machine, it comes off and on with the screw on the left side.  Another thing, you must be able to "drop your feed dogs."  Those are the little teeth like things under the needle plate that grab the fabric and "pull" it into the sewing area.  Since you'll be the one moving the fabric, you don't want these up and active!
When it comes to free motion, I often follow the flow of the fabric...
and to keep things tidy, I pull the loose threads to the back & tie them up!
Here is some free motion from the front...


and this is the "behind the scenes" look!  There is a lot of stitching goin' on here. =)
I mark my signature "V" on the inside with a blue water soluble pencil & stitch my little heart out!
Everything is ready...time to sew them together!
And she's all done, made with attention to detail & lots of love!


Since this was a birthday present, I offered to include a matching hand made card.  I used some fun animal print ribbon & a picture of one of the trees...add stitching & wha-lah, it's done!
As usual, I used recycled paper packaging & tied strips of fabric to the front and added a stamped sentiment to the tag.
Happy Birthday Violet!  
I hope you are enjoying your custom wallet...I had a lot of fun making it.